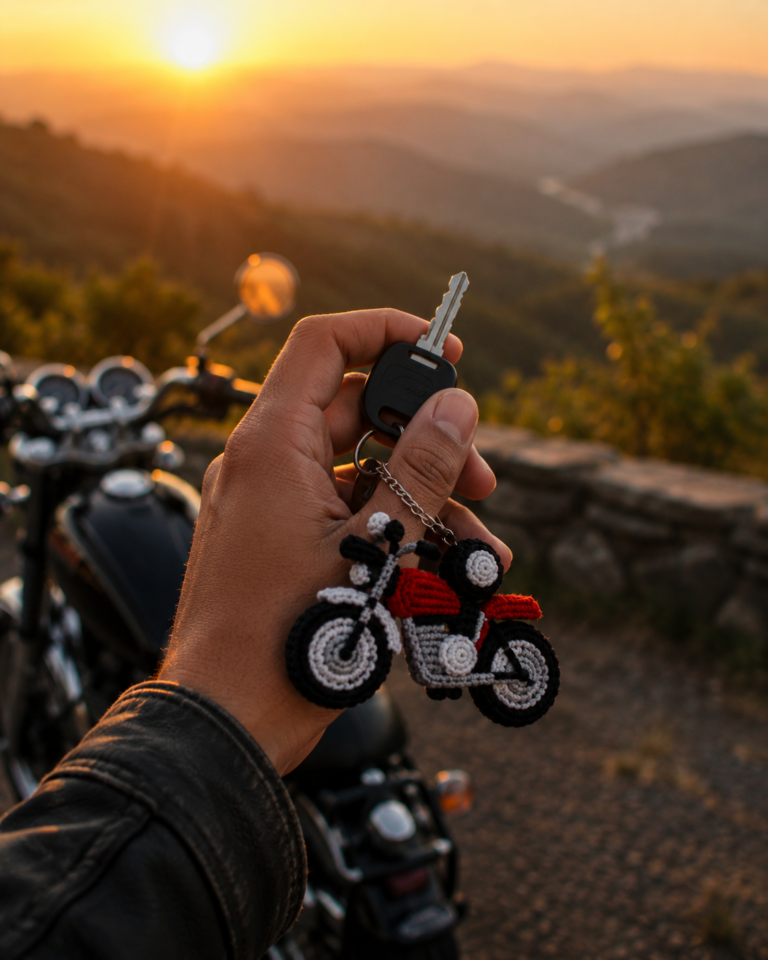

Handmade Tricycle Keychain Crochet Pattern
Introduction
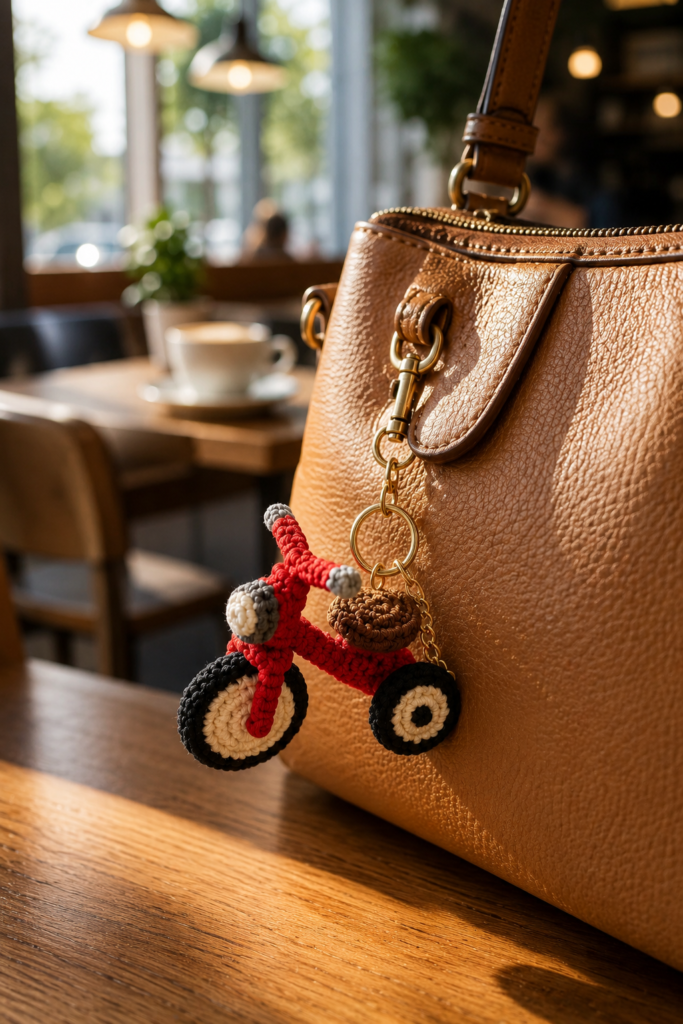
Small crochet projects have a unique charm, especially when they combine creativity with everyday functionality. This Handmade Tricycle Keychain Crochet Pattern is a delightful miniature project that transforms simple yarn into an eye-catching accessory you can carry everywhere. Whether clipped to your keys, backpack, handbag, or gift packaging, this vintage-inspired crochet tricycle adds a warm handmade touch to everyday life.
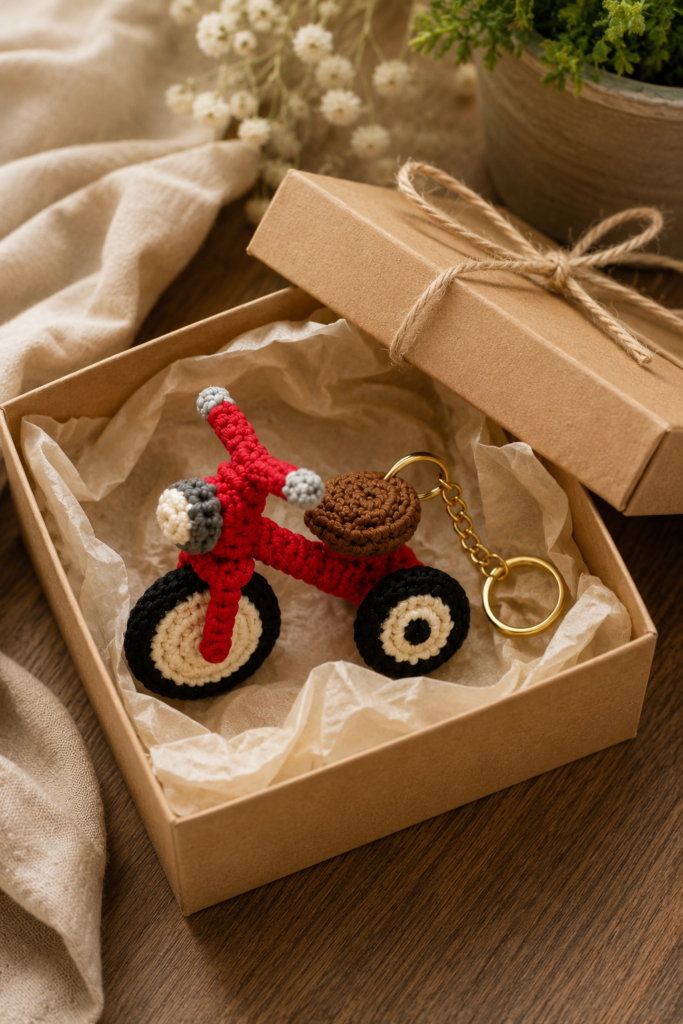
Designed with a bright red frame, cream-colored wheels, a textured brown seat, and realistic handcrafted details, this tiny tricycle is more than just a keychain—it’s a conversation starter. Its compact size makes it an excellent weekend project, while its detailed construction allows crocheters to practice precision, shaping, and neat assembly without committing to a large project.
Another reason this design is so popular is its versatility. It makes a thoughtful handmade gift for bicycle enthusiasts, crochet lovers, teachers, friends, and family members. It’s also an excellent product for craft fairs and online handmade shops because it uses only small amounts of yarn and can be completed relatively quickly once you’re familiar with the construction.
Whether you’re looking for a creative stash-busting project or a unique crochet accessory, this guide will walk you through everything you need to know—from choosing the best materials to expert finishing tips that help your tricycle keychain last for years.
Why You’ll Love This Handmade Tricycle Keychain Crochet Patter
Tiny crochet projects are incredibly satisfying because they offer quick results while allowing you to create something practical and beautiful. This tricycle keychain combines classic amigurumi techniques with a timeless vintage design, making it a project you’ll enjoy crocheting again and again.
Unlike larger crochet toys or home décor items, this miniature tricycle requires very little yarn, making it a fantastic stash-busting project. Even leftover cotton yarn from previous projects can be transformed into a charming accessory that looks professionally handmade.
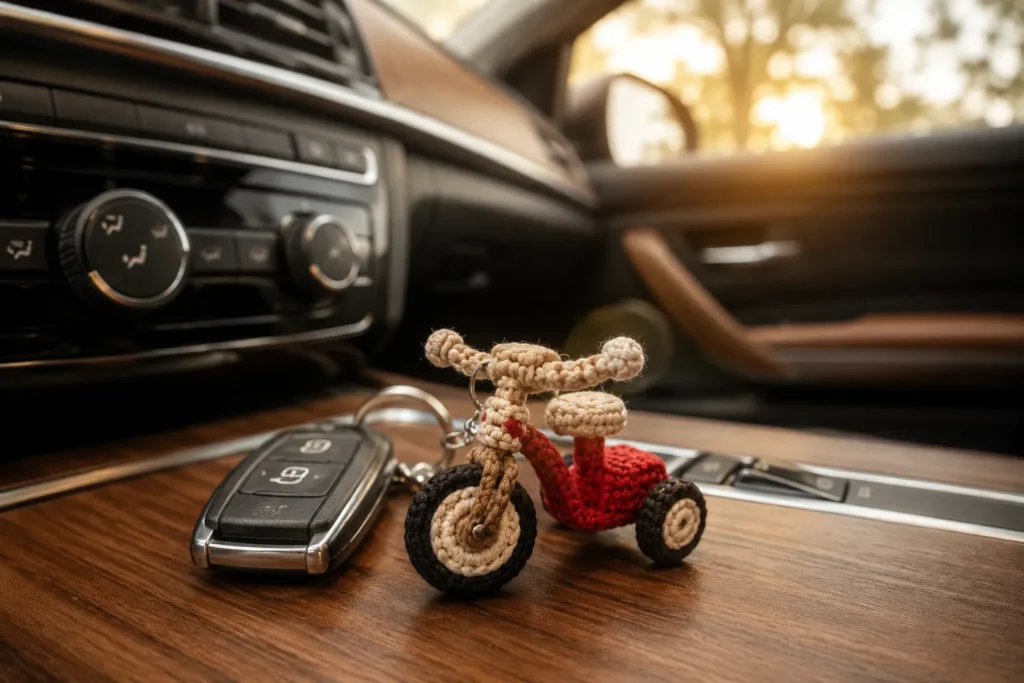
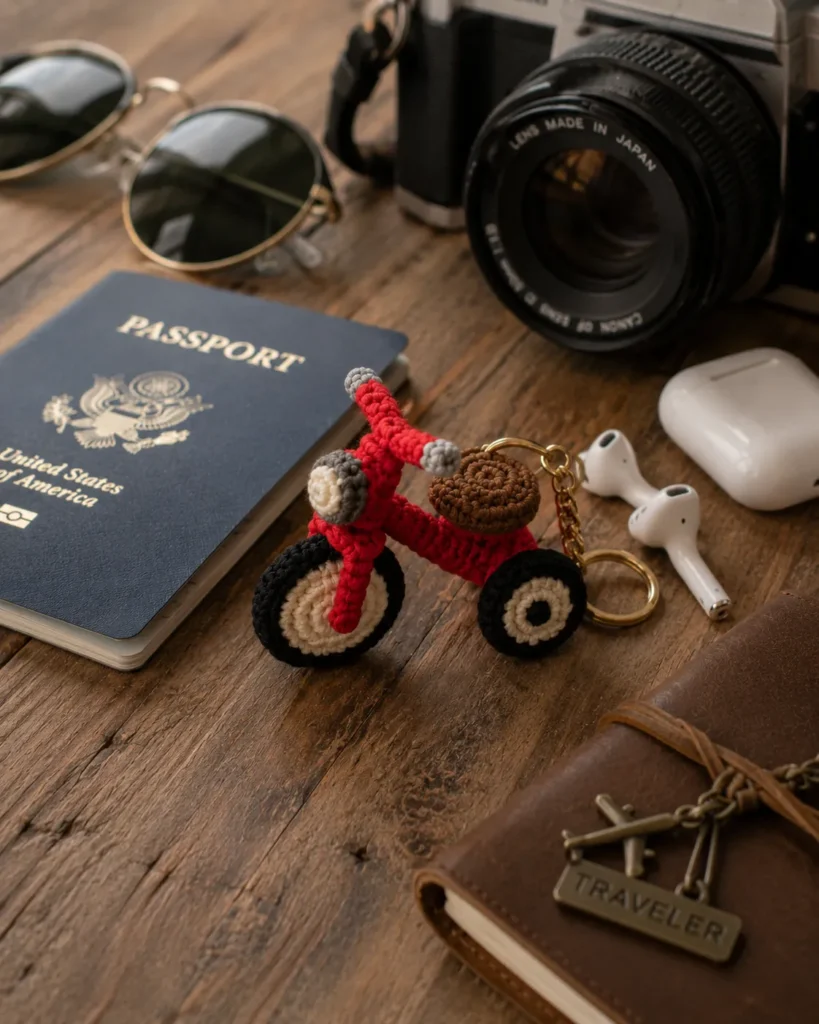
One of its biggest advantages is portability. You can attach it to house keys, backpacks, purses, zipper pulls, or even use it as a decorative charm for gift wrapping. Many crocheters also create several at once to sell at local craft markets, where handmade keychains are consistently popular due to their affordability and universal appeal.
This design is also an excellent way to improve your crochet skills. Although the finished piece is small, it teaches important techniques such as creating smooth curves, maintaining even stitch tension, assembling miniature components, and adding finishing details that give your work a polished appearance.
Why crocheters love this project
- Beginner-friendly construction with rewarding results
- Uses only small amounts of yarn
- Perfect for stash-busting leftover cotton yarn
- Makes thoughtful handmade gifts
- Ideal for craft fairs and Etsy shops
- Portable travel crochet project
- Durable enough for everyday use
- Easy to customize with different colors
- Great introduction to miniature amigurumi
- Finished in just a few relaxing crafting sessions
Whether you’re creating one for yourself or making a collection for gifts, this crochet tricycle is a project you’ll find yourself returning to throughout the year.
Materials You’ll Need
Choosing quality materials is one of the easiest ways to create a crochet keychain that looks professional and stands up to everyday use. Because this project is designed to be handled frequently, durability is just as important as appearance.
Yarn
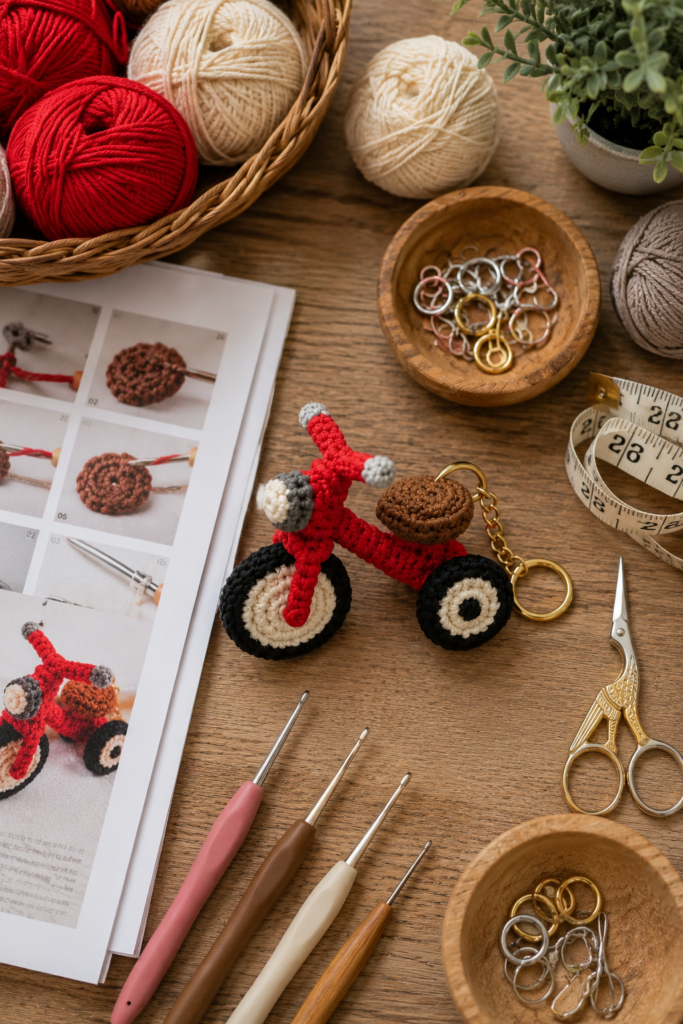
Mercerized cotton yarn is the best choice for this pattern because it produces crisp stitch definition and holds its shape exceptionally well. Cotton fibers create clean edges, making the tiny details of the tricycle—such as the frame, wheels, and seat—stand out beautifully.
For the classic version shown in this guide, you’ll need the following colors:
- Bright Red – Tricycle frame
- Cream – Wheel centers
- Black – Tires
- Brown – Seat
- Gray – Handlebars and headlight
If you’d like to personalize your tricycle, you can experiment with pastel shades, vintage-inspired colors, or seasonal palettes while keeping the overall structure the same.
Crochet Hook
A 2.0 mm to 2.5 mm crochet hook is ideal for lightweight cotton yarn. Smaller hooks produce tighter stitches, which are especially important for miniature amigurumi projects because they help prevent stuffing from showing through the fabric.
Additional Supplies
Besides yarn and a hook, you’ll also need a few basic crochet tools:
- Polyester fiberfill for light stuffing
- Yarn needle for sewing pieces together
- Stitch markers to track rounds
- Sharp embroidery scissors
- Gold keyring with chain
- Sewing pins for accurate positioning
- Fabric glue (optional for extra durability)
Having all your materials prepared before you begin will make the assembly process much smoother and help you achieve a clean, professional-looking finish.
Choosing the Best Yarn for a Crochet Tricycle Keychain
The yarn you choose plays a significant role in how your finished tricycle keychain looks and performs. Because this is a miniature amigurumi project, every stitch is visible, so selecting the right fiber can make the difference between a soft, floppy keychain and one with crisp, well-defined details.
For this pattern, 100% mercerized cotton yarn is the top recommendation. Cotton fibers create firm stitches that hold their shape beautifully, allowing the tiny wheels, frame, and seat to remain structured even with everyday use. Cotton is also resistant to stretching, making it an excellent choice for accessories that are frequently handled.
If you prefer a slightly softer finish, a cotton-acrylic blend can also work well. These blends are easier to crochet for beginners and often come in a wider range of colors. However, they may produce a slightly less rigid finish compared to pure cotton.
When selecting colors, stay close to the original design for the classic vintage look:
- Bright Red: Tricycle frame
- Cream: Wheel centers
- Black: Tires
- Brown: Seat
- Gray: Handlebars and front light
Using high-quality yarn with consistent thickness helps keep your stitches even and gives the finished keychain a polished, professional appearance.
Recommended Yarn Weight
- Sport Weight (Category 2)
- Fine Cotton Yarn
- Mercerized Cotton
These yarns provide excellent stitch definition while keeping the project lightweight enough for everyday use as a keychain.
Skill Level & Finished Size
One of the reasons this project is so enjoyable is that it strikes a balance between simplicity and creativity. While the individual pieces are small, the overall construction introduces several useful amigurumi techniques without becoming overwhelming.
Skill Level
Beginner to Easy Intermediate
If you’re comfortable with the following basic crochet techniques, you’ll be well prepared for this project:
- Magic Ring (Magic Circle)
- Single Crochet (SC)
- Increase (INC)
- Invisible Decrease (DEC)
- Slip Stitch (SL ST)
- Working in Continuous Rounds
- Basic Sewing and Assembly
Don’t worry if you’ve never made a crochet keychain before. This project is an excellent way to build confidence while practicing precision and neat finishing techniques.
Finished Measurements
The completed tricycle is approximately:
| Measurement | Size |
|---|---|
| Length | 3–4 inches |
| Height | 2.5–3 inches |
| Width | 1.5 inches |
Keep in mind that your finished size may vary slightly depending on:
- Yarn brand
- Hook size
- Crochet tension
- Amount of stuffing used
Understanding the Construction
Although the finished tricycle appears intricate, it’s actually made from several simple crochet components that are assembled together.
The project is divided into manageable sections, making it much easier to complete than it first appears.
The main parts include:
- Front wheel
- Two rear wheels
- Main tricycle frame
- Handlebars
- Front light
- Seat
- Keyring attachment
Working on one component at a time allows you to focus on creating neat stitches before moving on to the next section. Once every piece is finished, they are carefully sewn together to create the realistic three-wheel design.
Before beginning assembly, lay all the completed pieces on your work surface and compare their sizes. This small step helps ensure symmetry and makes positioning much easier.
Time-Saving Tips for a Better Finish
Even experienced crocheters appreciate small techniques that make miniature projects easier to complete. These simple tips can help you achieve cleaner results while saving time during assembly.
Use Stitch Markers
Miniature crochet pieces often work in continuous rounds, making it easy to lose track of where each round begins. A stitch marker helps maintain accuracy and prevents uneven shaping.
Stuff Gradually
Rather than filling each piece all at once, add small amounts of fiberfill as you crochet. This creates smoother shaping and avoids lumps.
Leave Long Yarn Tails
Whenever possible, leave a 6–8 inch yarn tail after finishing each component. Longer tails make sewing easier and eliminate the need for additional yarn later.
Pin Before Sewing
Position each piece with sewing pins before attaching it permanently. This allows you to adjust the placement and ensure everything is symmetrical.
Keep Tension Consistent
Miniature projects look their best when every stitch is uniform. Try to maintain even tension throughout the project, especially around the wheels and frame.
.
Before You Start Crocheting
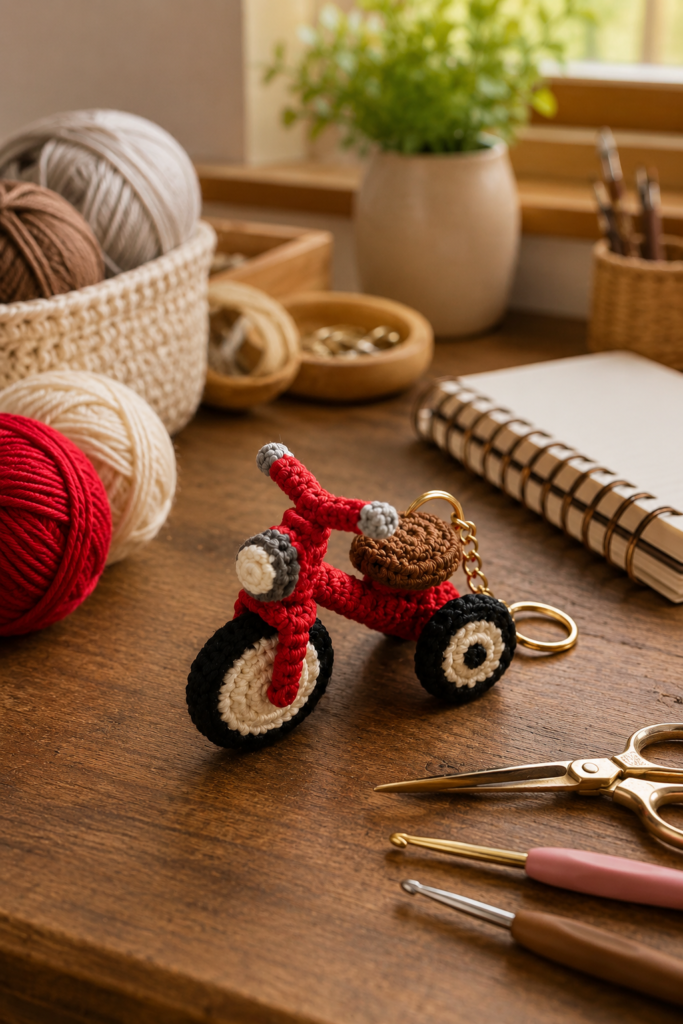
Preparation is often overlooked, but spending just a few minutes organizing your materials can make the entire project more enjoyable.
Before picking up your hook, make sure you have:
- All yarn colors prepared
- Crochet hook selected
- Stitch markers nearby
- Fiberfill ready
- Yarn needle threaded
- Keyring hardware available
- Scissors within reach
A clean, well-lit workspace also helps you notice small details, especially when working with tiny stitches and multiple color changes.
With everything ready, you’ll be able to focus entirely on enjoying the creative process instead of searching for supplies halfway through the project.
Step-by-Step Guide to Creating Your Handmade Tricycle Keychain
Now that you have your materials ready, it’s time to bring your crochet tricycle to life. Although the finished piece looks detailed, it’s built from several small components that come together to create a charming vintage-inspired keychain.
Working slowly and completing one section at a time will help you achieve the neat, symmetrical look shown in the reference image.
1. Crochet the Wheels
The wheels are the foundation of your tricycle, so taking extra care here will make a noticeable difference in the final result.
Begin by crocheting the cream-colored wheel centers using tight, even stitches. Once the center is complete, switch to black yarn to form the outer tire.
Each wheel should:
- Be perfectly round
- Have even stitch spacing
- Maintain a firm structure
- Match the size of the other wheels
Since the tricycle has one front wheel and two rear wheels, compare all three before moving to the next step. Even slight differences become noticeable after assembly.
Pro Tip: Use stitch markers to identify the beginning of each round. This helps keep your circles smooth and symmetrical.
2. Build the Main Tricycle Frame
The bright red frame is the centerpiece of the project and gives the tricycle its recognizable vintage appearance.
Work carefully to maintain consistent stitch tension while shaping:
- Front fork
- Main body
- Rear support
- Frame connection points
Avoid pulling the yarn too tightly, as this can distort the proportions of the frame. Likewise, stitches that are too loose may cause the structure to lose its shape.
The frame should feel sturdy while still remaining lightweight enough for everyday use as a keychain.
3. Create the Seat
The textured brown seat adds both realism and character to the finished project.
Because it’s such a small component, focus on:
- Smooth edges
- Tight stitches
- Consistent shaping
Lightly stuff the seat only if your pattern requires it. Overstuffing may make it appear oversized compared to the frame.
When attached correctly, the seat should sit comfortably above the rear wheels without leaning to either side.
4. Crochet the Handlebars & Front Light
These tiny details transform the project from a simple toy into a realistic miniature tricycle.
Using gray yarn, crochet:
- Handle grips
- Front light
Although these pieces are small, they create a polished finish that closely resembles a classic vintage tricycle.
Take your time when attaching them, as even slight adjustments can greatly improve the overall appearance.
5. Assemble the Tricycle
Assembly is where your individual crochet pieces become a finished masterpiece.
Begin by positioning each component before sewing.
Attach in this order:
- Front wheel
- Rear wheels
- Main frame
- Seat
- Handlebars
- Front light
- Gold keyring
Instead of sewing immediately, use sewing pins to temporarily hold each piece in place.
Viewing the tricycle from multiple angles before stitching helps ensure everything is centered and aligned.
Common Mistakes to Avoid
Even experienced crocheters occasionally run into small issues when making miniature projects. Fortunately, most problems are easy to prevent with a little extra attention.
Using Loose Tension
Loose stitches can expose stuffing and make the tricycle lose its clean, structured appearance.
Solution: Use a smaller crochet hook if necessary and maintain even tension throughout the project.
Uneven Wheels
If one wheel is slightly larger than the others, the finished tricycle may appear crooked.
Solution: Count every stitch carefully and compare all three wheels before assembly.
Crooked Seat Placement
A seat that leans forward or backward can make the finished keychain look unbalanced.
Solution: Pin the seat in place first and check the angle before sewing permanently.
Weak Keyring Attachment
Since keychains are handled every day, the hardware should be securely attached.
Solution: Reinforce the keyring attachment with several tight stitches and weave yarn tails securely through the frame.
Overstuffing Small Pieces
Too much stuffing can stretch the stitches and distort the proportions.
Solution: Add fiberfill gradually until the shape feels firm but not bulky.
Expert Crochet Tips for a Professional Finish
Small details separate a handmade project from one that looks professionally crafted. These expert techniques will help elevate your finished tricycle.
Weave in Yarn Ends Carefully
Rather than trimming yarn immediately, weave each tail through multiple stitches before cutting. This prevents unraveling with everyday use.
Steam Blocking
A light steam blocking can help relax uneven stitches and improve the overall shape.
Avoid placing the iron directly on the yarn.
Use Invisible Sewing
Whenever possible, sew pieces together using the same yarn color as the component being attached.
Hidden stitches create a much cleaner finish.
Match Your Stitch Tension
Maintaining consistent tension throughout the project keeps all components proportional and ensures the frame aligns correctly with the wheels.
Reinforce High-Stress Areas
The seat and keyring experience the most movement during daily use.
Adding a few extra securing stitches greatly increases durability without affecting appearance.
Care and Storage Tip
Although this crochet tricycle is designed for everyday use, proper care will help preserve its appearance for years.
Cleaning
- Spot clean using a damp cloth.
- Use mild soap if needed.
- Avoid harsh detergents.
- Do not machine wash.
Drying
Allow the keychain to air dry naturally.
Avoid direct sunlight for long periods, as this may gradually fade bright yarn colors.
Storage
If you’re making several keychains for gifts or craft fairs:
- Store them in a dry container.
- Keep away from moisture.
- Avoid placing heavy objects on top to prevent the wheels from becoming misshapen.
With simple care, your handmade tricycle keychain will remain a charming accessory that can be enjoyed every day.
Frequently Asked Questions
Is this Handmade Tricycle Keychain Crochet Pattern suitable for beginners?
Yes. This project is ideal for adventurous beginners who are comfortable with basic crochet stitches such as single crochet, increases, decreases, and working in continuous rounds. While the small pieces require a little patience, each component is simple to make, making this an excellent introduction to miniature amigurumi.
What type of yarn works best?
For the neatest and most durable result, use 100% mercerized cotton yarn. Cotton provides excellent stitch definition, helps the tricycle maintain its shape, and stands up well to daily use as a keychain.
How long does it take to complete?
Most crocheters can finish this project in 3 to 5 hours, depending on their experience level. Beginners may take a little longer, especially during assembly, while experienced crocheters can often complete multiple keychains in a single day.
Can I sell finished crochet tricycle keychains?
Absolutely! Handmade crochet keychains are popular items at craft fairs, local markets, and online shops. If you’re using an original or licensed pattern, always respect the designer’s copyright terms. Selling your finished handmade creations is generally encouraged, but avoid redistributing or copying the written pattern without permission.
Can I customize the colors?
Definitely. While the classic red tricycle has a timeless appeal, you can personalize your keychain using:
- Pastel shades for baby gifts
- Bright rainbow colors for children’s accessories
- Neutral earth tones for a vintage look
- Holiday-inspired color palettes
- School or sports team colors
- Metallic yarn accents for decorative gifts
The possibilities are endless, allowing you to create a truly one-of-a-kind handmade accessory.
How do I keep the tricycle firm?
A few simple techniques will help maintain its shape:
- Use a smaller crochet hook for tighter stitches.
- Stuff the pieces lightly and evenly.
- Sew components together securely.
- Reinforce the keyring attachment with extra stitches.
- Avoid overstuffing the wheels or frame.
These small details make a big difference in the finished quality.
Final Thoughts
The Handmade Tricycle Keychain Crochet Pattern is proof that even the smallest crochet projects can leave a lasting impression. With its charming vintage design, vibrant colors, and practical everyday use, this miniature tricycle is a rewarding project for crocheters of all skill levels.
Beyond its adorable appearance, this keychain offers an opportunity to practice essential amigurumi techniques while creating something both functional and meaningful. Whether you’re making one as a thoughtful gift, adding it to your own collection, or preparing inventory for your handmade business, this project combines creativity with practicality in the best possible way.
One of the greatest advantages of this pattern is its versatility. It uses only a small amount of yarn, works up relatively quickly, and can easily be customized with different colors to suit any occasion or personal style. From birthdays and holidays to party favors and craft fair bestsellers, this tiny crochet tricycle is sure to bring smiles wherever it goes.
Remember, handmade items don’t need to be large or complicated to become cherished keepsakes. Careful stitching, thoughtful details, and quality finishing are what truly make a crochet project stand out.
Quick Project Summary
| Project Detail | Information |
|---|---|
| Project Name | Handmade Tricycle Keychain Crochet Pattern |
| Skill Level | Beginner to Easy Intermediate |
| Finished Size | Approximately 3–4 inches |
| Recommended Yarn | 100% Mercerized Cotton |
| Hook Size | 2.0 mm – 2.5 mm |
| Estimated Time | 3–5 Hours |
| Best For | Gifts, Keychains, Craft Fairs, Handmade Shops |
| Main Techniques | Magic Ring, Single Crochet, Increase, Decrease, Assembly |
Beginner’s Checklist
Before calling your project complete, make sure you’ve checked the following:
✅ All three wheels are evenly sized.
✅ The frame is securely attached.
✅ The seat is centered and level.
✅ Handlebars and front light are firmly sewn.
✅ The keyring hardware is tightly secured.
✅ All yarn ends are woven in neatly.
✅ The tricycle sits evenly and keeps its shape.
Completing this checklist helps ensure your finished keychain is both attractive and durable.
Call to Action
If you enjoyed making this Handmade Tricycle Keychain Crochet Pattern, don’t stop here! Small crochet accessories are a wonderful way to build your skills while creating meaningful handmade gifts for friends, family, and customers.
Try experimenting with different color combinations, create matching keychains for loved ones, or make a collection to sell at your next craft fair. Every finished piece is a reflection of your creativity and craftsmanship.
If this tutorial inspired you, be sure to save it to your favorite Pinterest board, share it with fellow crocheters, and explore more beginner-friendly crochet patterns here on StitchNestStudio. New ideas, creative inspiration, and helpful crochet guides are always just a stitch away.
Happy Crocheting! 🧶🚲